With a number of sports viewers now moving to online streaming sites in an effort to watch their favorite teams in action, there remains a lingering concern over a potential cyber attack for most fans watching via stream leaving many to question whether a VPN is now an essential addition for all fans watching sports online.
When browsing online sites and forums, many PC enthusiasts are often informed to install a VPN (Virtual Private Network) as a means to protect all their personal information and PC from any looming cyber threats such as viruses or online hackers.
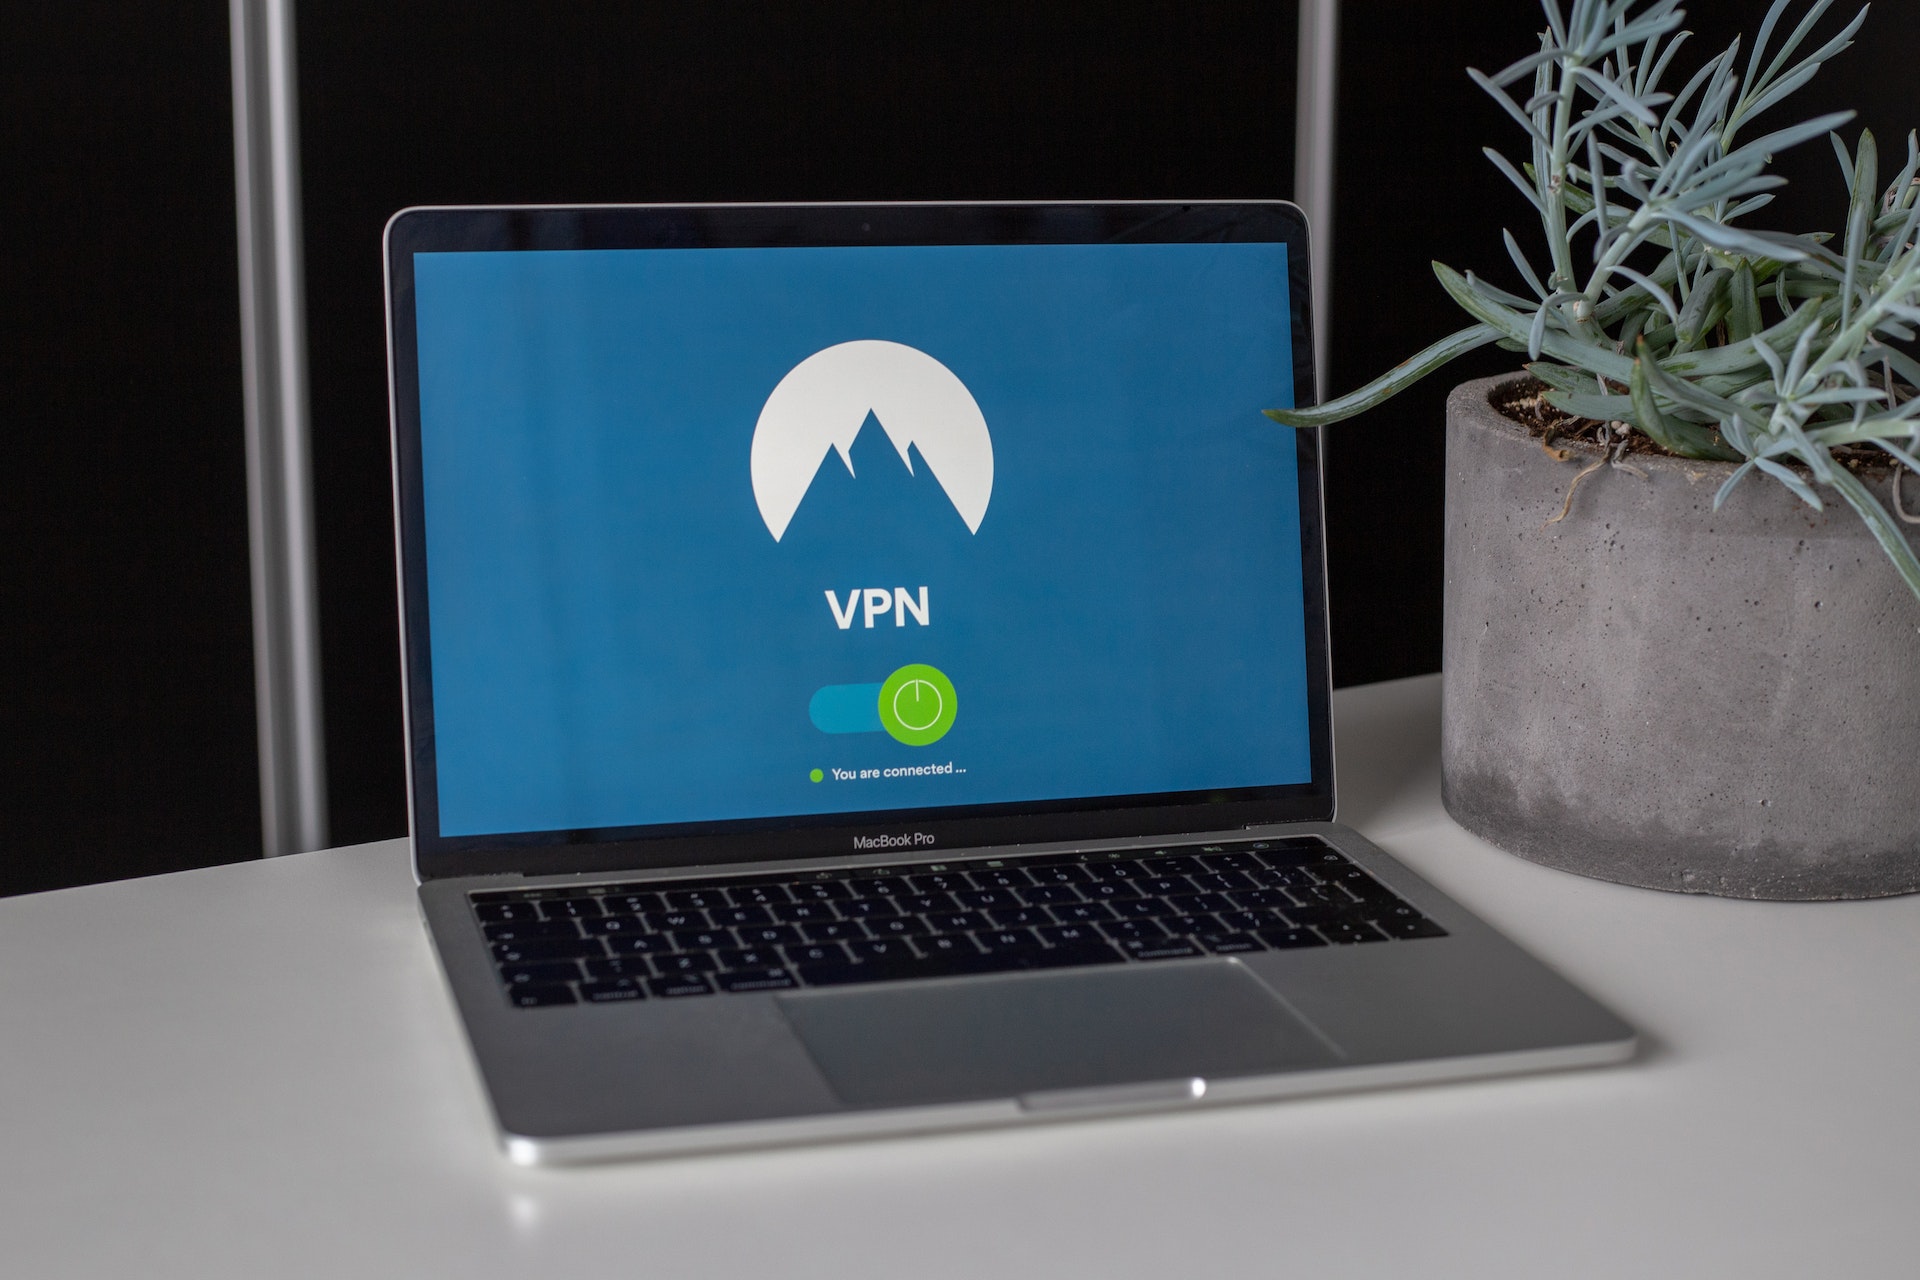
A VPN is a well-encrypted connection across any connected broadband that can be adapted to different devices whenever scaling across the internet at any set time.

There are various forms of VPN’s that are available to install such as remote access that conducts security checks in an effort to ensure that any endpoint will meet the required posture before connecting, with another example also being a site-to-site VPN which is used to access network connection from a much more impartial distance away from any neighboring network.
With there still being a continuous worry over the security that basic PCs or laptops offer, installing a VPN is now becoming an integral part whilst using the internet for any means as well as installing such software on other devices such as smartphones in an effort to keep all information encrypted.
When using the internet for streaming sports games, many will be quick to question whether it is truly safe for any fan to use such amenities without the installation of a VPN on their device should there still be a raising concern over a cyber-attack when browsing online.
How to install a VPN ahead of gameday
Finding and installing a reliable VPN is actually quite a simple process as it is quick and convenient to get up to speed ahead of any gameday for whatever sport you have a great interest in.
There are a number of VPN’s available to download online with some of the most well-reviewed and highly secure being NordVPN, Norton, and ExpressVPN all offer a fair listing of offers for any subscriptions.
When streaming online sports, NordVPN is arguably the quintessential favorite amongst sports fans as it remains a premium service with great speeds as well as endless access to live sports streams across the world, a perfect choice for any football fans looking to place a bet on the upcoming Super Bowl.
After purchasing and downloading a VPN to your device, you will be required to complete all installations as well as run a quick network diagnostic to check whether there are any viruses that need to be removed or if there are any updates that need to be installed.
Following this critical step, the VPN will then be up and fully functional and can often be turned on or off in the setting tab that is usually present on any such smart device.
Any such user with a VPN install is often required to keep this software turned on at all times when browsing the web, yet it has always been critical to be kept on using online streaming platforms for sporting broadcasts to ensure that your device is fully secure and has access to a plethora of streaming sites that you can use to watch any contest that you seek an interest in.
Is downloading a VPN required for online sports streaming?
In short, no you do not need to install a VPN on your device when watching sports that are streamed online, yet it is still a piece of software that offers a range of services that can help keep your device secure and provide you with plenty of streaming services depending on what VPN you intend to download.
Some other reasons why sports streaming fans should consider downloading a VPN bar some of the ones listed above is due to the quicker network speeds, no data caps, a huge server network, and strong compatibility that can make for a much more reliable experience of tuning into any broadcast you intend to watch, without the worries of constant buffering or the entire stream itself going down.
If you watch a number of your favorite sports across online streaming platforms, then installing a VPN is a welcoming addition to help such streams run more smoothly throughout any broadcast.
Given how much of an influx in network traffic that online sports streaming sites have amassed over the past few years, using a reliable VPN is now becoming a mainstay priority for sports fans in an effort to help keep their personal device information secure and to ensure that any available stream is expected to run at an acceptable rate without some major blips.
